The flower of bulbila is very beautiful, a bit like hydrangea. At the beginning, it was a waxy pentagram. After the petals were opened, there were red stamens, and the fragrance was striking.
Bulblets are easy to maintain and love to bloom. Generally, one flower will wither and another will come out soon, which is very suitable for domestic breeding.

However, many flower friends said that they don't like to bloom the ball orchid. Today, flowers will teach you some methods to make the ball orchid blossom easily.
Most of the flower friends reflect that the ball orchid has been blooming once, but it hasn't been blooming for many years. Why? Maybe you moved this position after the flowers are blooming!

Note: after the flowering failure of the orchid, let it wither and fall off naturally. Do not prune it, because the orchid will bloom later on the old pedicel. If you destroy the pedicel in order to nip the flowers, you can only see no flowers behind.


In this case, if you keep the old pedicel of the orchid well, you won't worry about that it won't bloom again. If it's nutritious, the old pedicel will soon be able to bear new bracts, which will open one after another, and the people watching will be happy.

Some flower friends may say that my family's bulb orchid has not been cut. There are many branches and leaves, but it doesn't blossom. It's almost time to form a green rose climbing the wall. I wonder if it's bulb orchid. In fact, there are certain rules for the flowering of bulbils. If you master them, you will be able to blossom!
It's better to use a smaller pot, for example, a 3-4-year-old ball orchid, a medium-sized flowerpot (caliber between 20-30cm) will do. In 5-8 years, you can use a 30-50cm-caliber flowerpot. The flowerpot is too big, it just wants to grow roots, and doesn't like to bloom if it's not long.

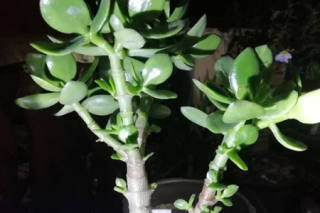
This kind of shade resistant flower is suitable for indoor cultivation, but watering must be controlled, not too frequently, because the light is less, the water is too much, the excessive branches and leaves are very scattered, the branches are relatively thin, and do not like flowering.

Although the bulb orchid is resistant to shade, if you want it to bloom, you need to give some light. Generally, the indoor position with a little bright light is OK, and the balcony and windowsill with scattered light are also OK. It's enough to dry it for 2 hours every day. It's difficult to bloom in a completely sunless position.

Phosphate fertilizer can keep flowering, and nitrogen and potassium fertilizer can grow branches and leaves. If you want to let bulblets concentrate on flowering, you need to use phosphate fertilizer: potassium dihydrogen phosphate, huaduoduo No. 2. Phosphate is sprayed on the flower stems and pedicels. Huaduoduo No. 2 is used to water the soil once every 10-15 days. Half a month's effect will come out.

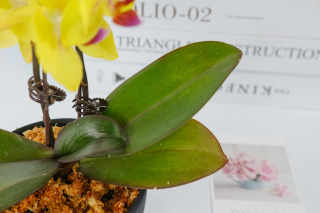
Once the ball orchid is placed, do not move around in three days. Because the ball orchid is sensitive to light and environment, it will not bloom for a while after replacement, and when there is a flower bud, move the position, which may cause the flower bud to fall off in advance.
I said that the flower stalks of the ball orchid must not be cut, so if the long ones are too messy, how to cut them?
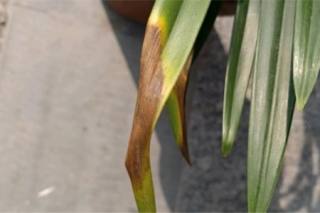
The branches of bulbil can grow very long, but if they are not pruned in time, they may become a lone and unsightly one. It is suggested to cut off 2-3 pairs of leaves from the top of the branch to stimulate its lateral buds and new branches, instead of focusing on growing this branch.

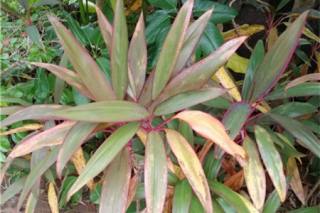
When the branches of the orchid grow much longer, it's hard to avoid looking messy. You can trim them according to your desired shape, such as climbing the wall. You can use wool or wire to pull them in advance and trim the messy branches:
Or hang the model vertically, try to keep the branches in order, do not intertwine with each other, it looks ugly:

Or, buy a flower stand or find some sticks, insert them in the soil, fix them, wrap them in a circle, and then trim the messy branches.
The pruned bulbil branches are cut into small sections, with 1-2 pairs of leaves reserved for each section. Cut them with vermiculite, perlite or sandy soil, put them in the shade to keep ventilation. When the sandy soil is dry, water it again, and it will take half a month to take root. Now the cutting can also take place.